Find What Fits Your Toyota


ICS Fab Toyota Tundra Dash Mount | '14 - '21 Tundra
ICS Fab Toyota Tundra Dash Mount | '14 - '21 Tundra
In stock
Fulfilled by ICS FAB
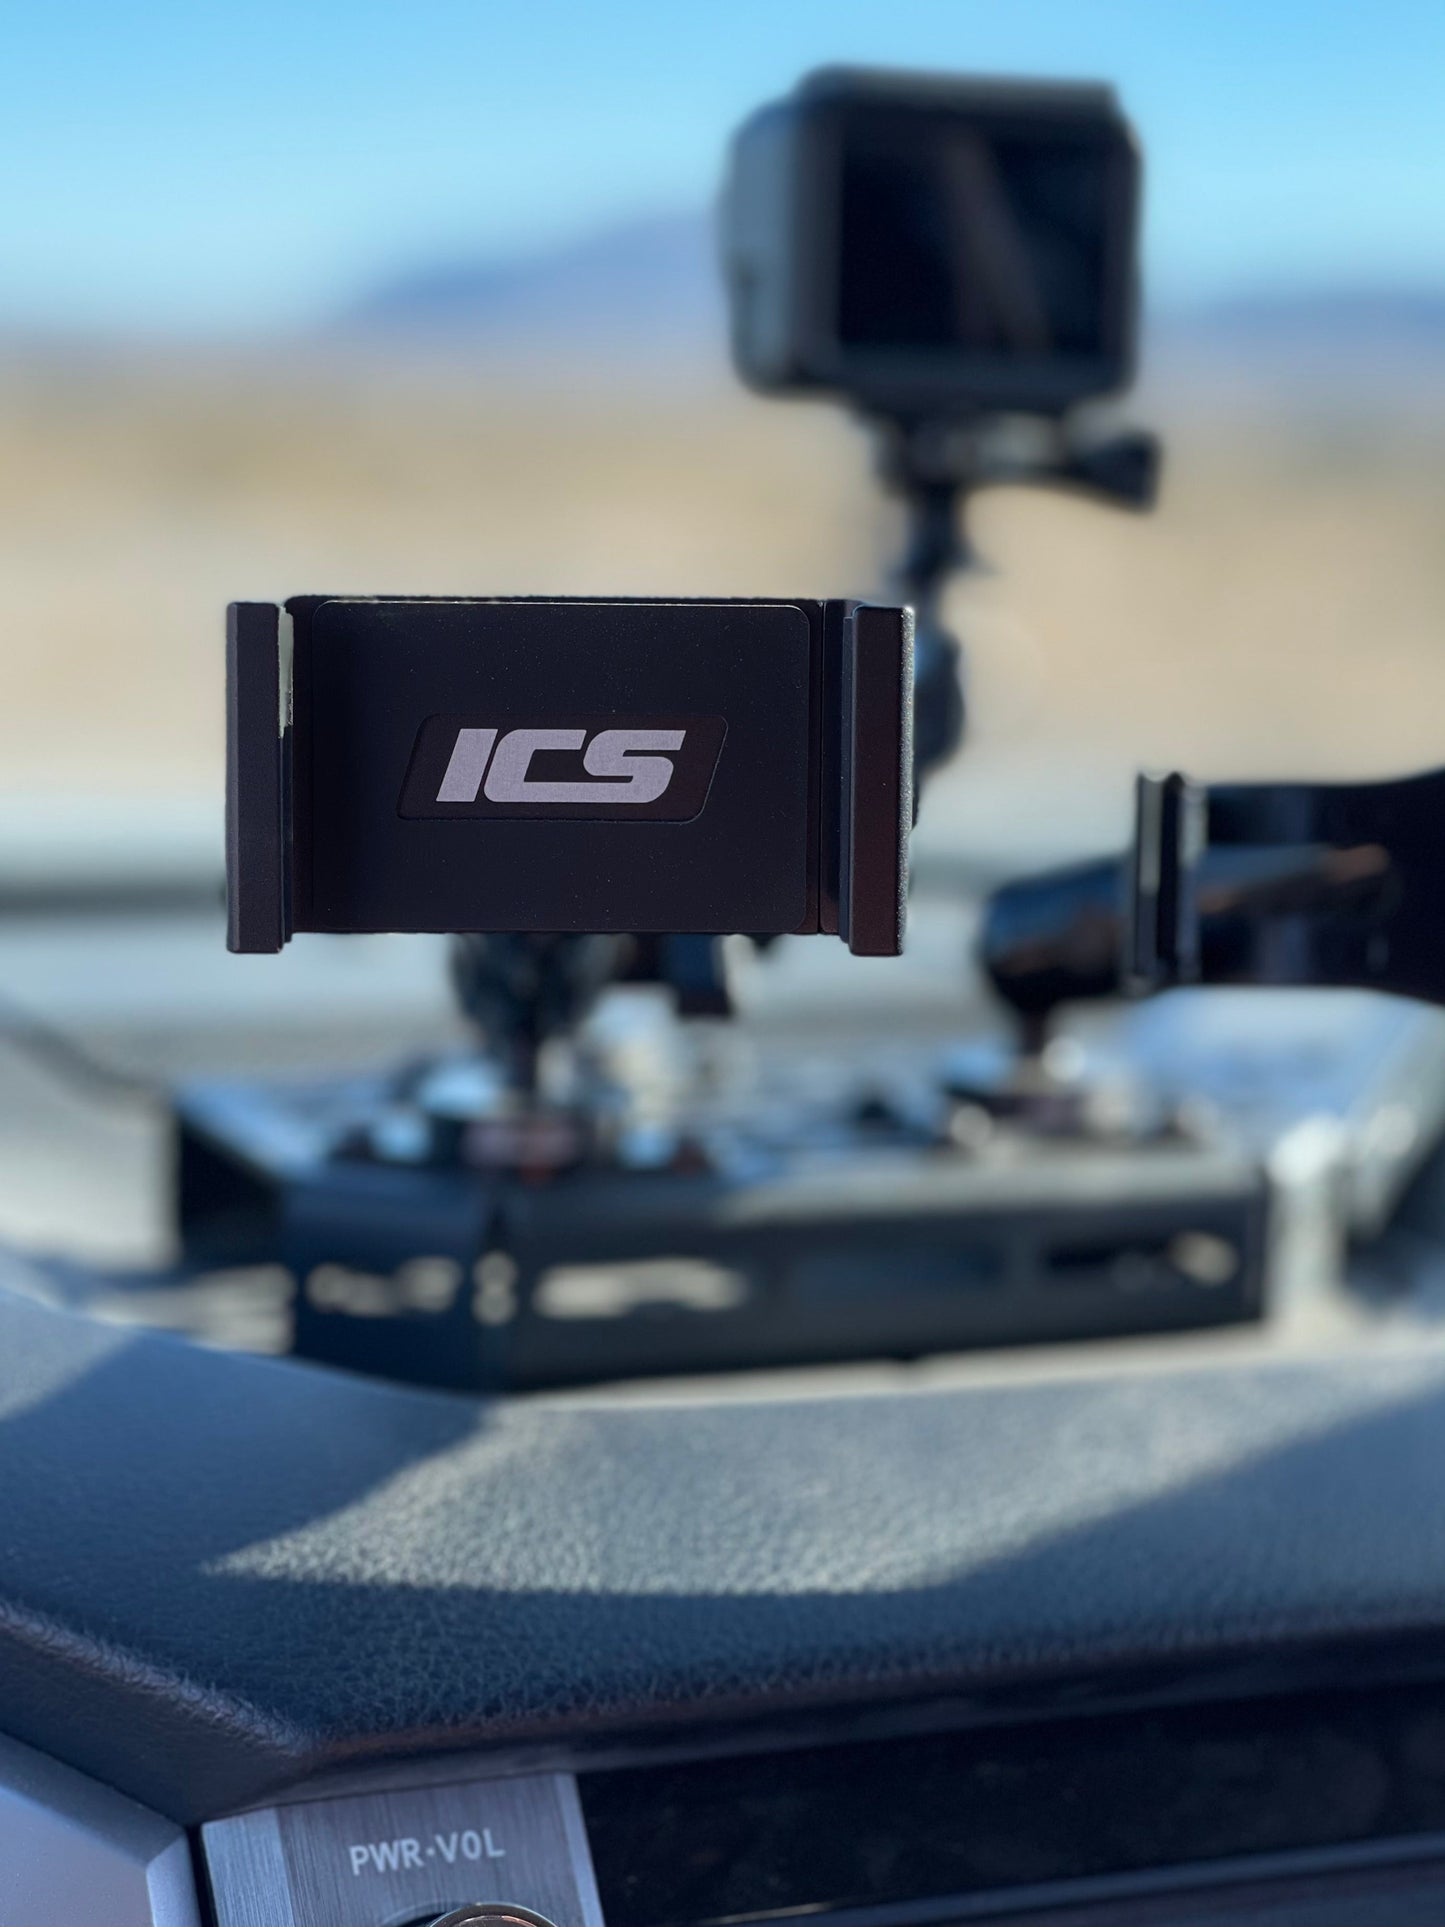
The ICS FAB AMPS-Compatible Dash Mount provides a secure platform for mounting phones, tablets, dash cams, radios, and other AMPS-standard accessories. CNC laser cut and finished with a durable black textured powder coat, it installs to the dashboard tray and includes all necessary hardware for a clean and functional setup.
Couldn't load pickup availability


Fast US Standard Shipping &
Easy International Shipping
30-Day Returns
TG Pro
Satisfaction Promise
Trail Grid Pro Tested
- Details
Designed to accommodate AMPS standard attachments allowing you to mount Phones, Tablets, Dash Cams, CB's, Radios and more!

Each kit includes the following
- CNC Laser Cut and Formed Dash Mount with Fine Black Textured Powder Coat Finish
- Four M6x20mm Stainless Steel Hex Socket Cap Screws
- Four Stainless Steel Fender Washers
- Four M6x1mm Stainless Steel Nylon Lock Nuts
- Drilling Template
- Lifetime warranty against manufacture defects and workmanship
- California residents WARNING: Cancer and Reproductive Harm
*For those who plan on doing extreme wheeling, we recommend pairing this with our support plate.*
*Optional 3.1 Amp USB charger available*
Please note before purchasing
Installation requires the removal of the 12v socket trim, A/C Controls and the Radio. It also requires four holes to be drilled on the dashboard itself.
The buyer hereby assumes all risks associated with any such modification. ICS Fab will not accept responsibility for personal injury or property damage arising from the failure or incorrect installation of any parts manufactured or sold by ICS Fab.
In order to install our dash mount, drilling on the dashboard center tray is required.
We recommend having the mounts (i.e. RAM mounts) you'll be using ready and installed on our Dash mount before full installation, of course making sure not to block access to the mounting holes.
Tools required
- 6mm Allen
- 10mm Socket
- Long extension
- Ratchet
- Trim removal tools
- 1/8" Drill bit for pilot hole
- 1/4" Drill bit
- Drill
- Center Punch
Before drilling.
- Remove Lower Dash 12 volt outlet tray
- Remove A/C controls
- Remove Four 10mm screws for Radio
- Remove Radio
Included in every kit is a scaled print out of the mount that is used as a drilling template. We prefer to use the mount itself to drill the holes.
- Position the mount in the center of the dash tray.
- Using the center punch, punch the center of each mounting hole (Four holes on the lower section of the mount) onto the dash tray, making sure not to move the mount as you go along.
- Drill the 4 1/4" holes.
- At this point Install your mounts (i.e. RAM) on our dash mount in the desired location.
- Using the Four provided screws, insert them into the Four dash mount holes
- From the bottom section of the dash, insert provided washers and install the nuts on each one of the screws hand tight.
- Tighten nuts diagonally until tight.
- Reinstall Radio, A/C and 12 volt socket trim.