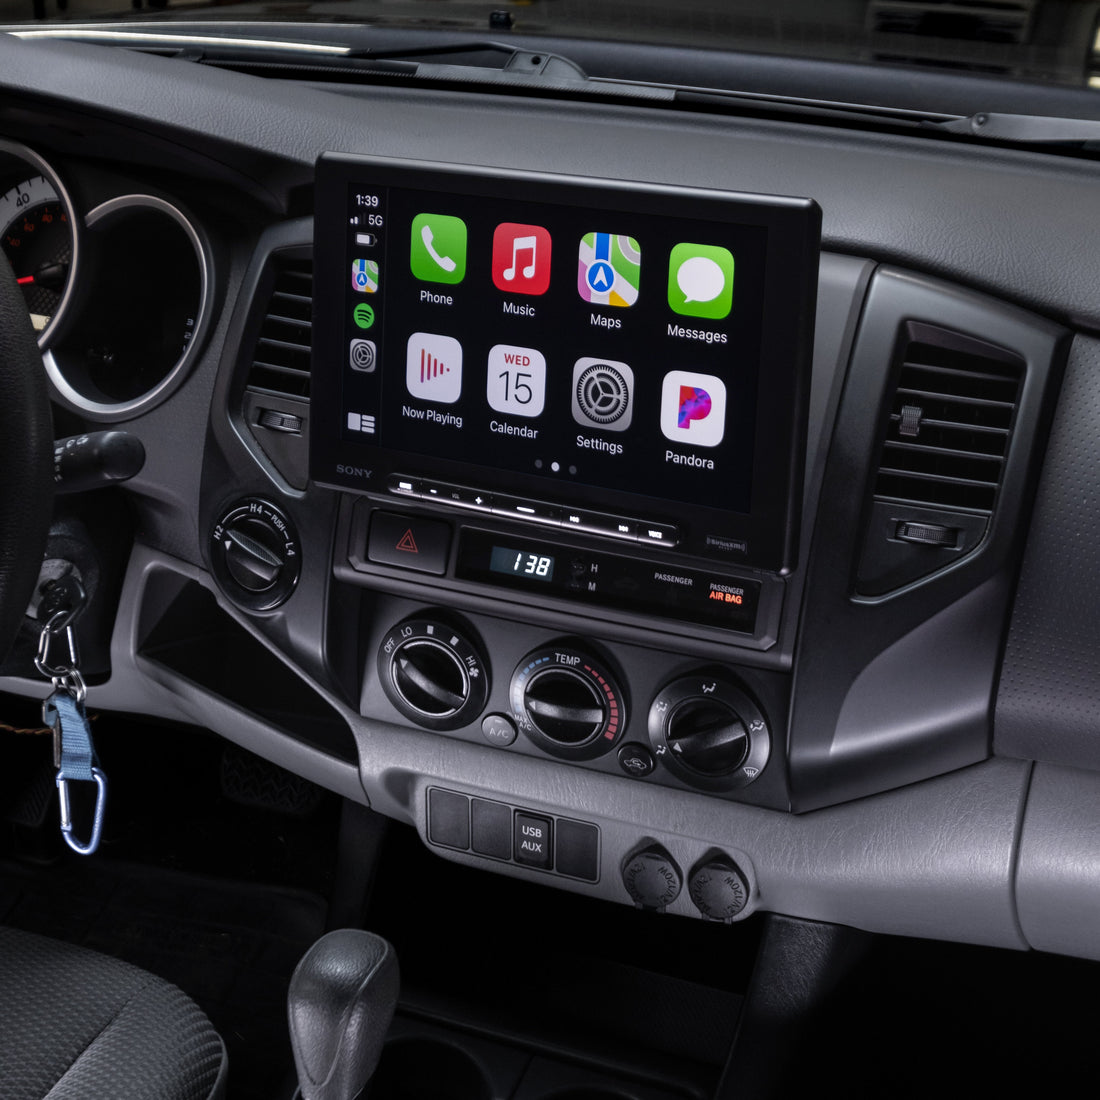
Here is a simple and easy breakdown of how to install you new
Sony 8500 Plug & Play Bundle from Trail Grid Pro!
Tools needed:
- 10mm socket
- Ratchet wrench
- Phillips head screw driver
- Panel removal tool
- Zip ties
- Cutters
Step 1
Removing your factory head unit:
- Remove the HVAC control panel.
- Using a panel removal tool, gently insert at the the bottom of the panel and pry out to release the retaining clips.
- Unplug HVAC controls by depressing the tabs on the connectors.
- Remove the four factory 10mm bolts that secure the radio to the dash.
- Remove the radio from the dash by pulling straight back.
- Disconnect all connectors from the back of the factory radio, hazard button and clock.
Step 2
Remove the hazard button/clock trim from the factory dash kit:
- Use a panel removal tool to gently pry back on the four locking tabs that secure the panel.
- There are two tabs on the top and two tabs on the bottom hazard/clock trim.
- Transfer the hazard/clock trim into the dash kit that you received with your bundle from Trail Grid Pro.
Step 3
Installing your new head unit bundle:
- Route the microphone:
- You may choose to mount the Sony provided microphone on top of the steering column or along the top of the windshield. Find your preferred mounting location, mount the microphone and run the cable towards the back of the radio.
- Once the microphone wire is to the back of the radio, it will be connected into the MIC port on the back of the Sony radio.
- Route the OBD2 connector:
- The OBD2 will come pre-connected to your bundle. The large black plug will need to be connected to the OBD2 plug under the drivers dash.
- The OBD2 harness is needed in some installations to transmit vehicle data to the head unit. The OBD2 harness includes one plug that connect to the Maestro harness, while the larger end plugs into the OBD2 port under the driver’s side dash. Additionally, the 3-pin white connectors should be plugged into each other.
- We recommend using a wire fish to run the connector though the dash. Be sure to secure any loose wire with zip ties as needed.
- Connect the radio harness:
- Connect all main vehicle connectors from the bundle harness.
- Depending on the factory features of your vehicle, you may need one of the other connectors in the parts bag.
- Route or connect the navigation antenna:
- If your Tacoma had factory navigation, connect the GPS antenna adapter to the small white single pin connector.
- If your Tacoma did not have factory navigation, you will need to use the provided navigation antenna.
- Connect the antenna into the port labeled GPS on the back of the radio.
- We recommend routing the antenna and placing it on the dash near the bottom of the windshield.
- Connect the Sirius XM tuner (if applicable):
- Connect the antenna into the Sirius XM tuner module.
- We recommend routing the antenna and placing it on the dash near the bottom of the windshield.
- Once all connections are made, place the head unit chassis into the dash and use the factory 10mm bolts to secure the unit. The other two 10mm bolts can be replaced into their mounting locations for safe keeping.
Step 4
Place the screen into the unit for testing:
- Place the 8500 screen into the chassis of the radio. We recommend using some of the provided screen screws to secure the screen while testing.
Step 5
Test the functionality:
- Insert your key and place the vehicle in accessory power.
- If you unit does not power on, press the home button on the button bar. Sometimes you need to press the home button for the first power up, after that the unit will power on with the vehicle.
- After the Sony logo disappears a setting menu will appear:
- Set the date and time
- Turn off demo mode and than press confirm.
- Test your steering wheel controls.
- Test your backup camera (If applicable)
- With your foot on the brake, shift to reverse.
- You can also select Rear Cam on the screen to show the backup camera.
- Check AM/FM radio and check to make sure that sound is coming from all speakers.
- Check your Sirius XM tuner:
- Once the Sirius XM Tuner is correctly connected, you should receive channel 1 (Sirius XM Advertisement Channel) on the radio.
- At this point you will need to contact Sirius XM to activate or transfer your existing service plan to the new tuner ID.
- The tuner ID can be found in 3 locations: On the tuner itself, on channel zero when listening to Sirius XM or on the Sirius XM box located in your spare parts bag.
Step 6
Final installation:
- Once all functionality is checked and everything is working, it's time to finish the install. Start by removing the screen from the radio chassis.
- Reconnect the hazard switch and clock connections.
- Place the dash kit over the radio and press into place.
- Reconnect and replace the HVAC control panel.
- Secure the screen to the chassis using the four silver phillips head screws from the install parts bag.
- There are two holes on each side of the neck of the radio.
- Slide the black plastic cover forward and secure it with the remaining black phillips head screw from the install parts bag.
- The hole for the black cover will secure in the middle of the neck of the radio.


